• We have updated our Community Code of Conduct. Please read through the new rules for the forum that are an integral part of Paradox Interactive’s User Agreement.

Zxeres

Second Lieutenant
48 Badges
Sep 15, 2016
160
31
  • Crusader Kings II: Charlemagne
  • Victoria 2: A House Divided
  • Europa Universalis IV: Res Publica
  • Europa Universalis IV: Pre-order
  • Europa Universalis IV: Wealth of Nations
  • Europa Universalis IV: Conquest of Paradise
  • Europa Universalis IV: Art of War
  • Crusader Kings II
  • Hearts of Iron IV: Together for Victory
  • Crusader Kings II: Monks and Mystics
  • Europa Universalis IV: Mandate of Heaven
  • Europa Universalis IV: Rights of Man
  • Crusader Kings II: Reapers Due
  • Hearts of Iron IV: Colonel
  • Europa Universalis 4: Emperor
  • Hearts of Iron IV: Death or Dishonor
  • Hearts of Iron IV: Cadet
  • Europa Universalis IV: Cradle of Civilization
  • Hearts of Iron IV: Expansion Pass
  • Stellaris: Apocalypse
  • Europa Universalis IV: Rule Britannia
  • Europa Universalis IV: Dharma
  • Crusader Kings II: Holy Fury
  • Europa Universalis IV: Golden Century
  • Imperator: Rome Sign Up
  • Crusader Kings III
  • Crusader Kings II: Conclave
  • Europa Universalis IV: Cossacks
  • Crusader Kings II: Horse Lords
  • Europa Universalis IV: Common Sense
  • Crusader Kings II: Way of Life
  • Europa Universalis IV: El Dorado
  • Victoria 2
  • Stellaris
  • Europa Universalis IV
  • Crusader Kings II: Jade Dragon
  • Crusader Kings II: Legacy of Rome
  • Crusader Kings II: The Old Gods
  • Crusader Kings II: Rajas of India
  • Crusader Kings II: The Republic
  • Crusader Kings II: Sons of Abraham
  • Stellaris: Megacorp
  • Crusader Kings II: Sunset Invasion
  • Crusader Kings II: Sword of Islam
  • Europa Universalis IV: Call to arms event
  • Europa Universalis IV: Third Rome
  • Stellaris - Path to Destruction bundle
  • Europa Universalis IV: Mare Nostrum
Last time I did an AAR for EU4 was about 5 years back. I believe it was WC/OF. Three mountains has been on my mind for a flurry of years now, like a thorn stuck in my side. I starting playing this game on release, although I didn't really get "it" till about 2015. Last time I wished I had took more time to lay out my thoughts before I posted a few quick notes and screens before the end. So this time I'm going to tell you all how it goes as I strive forward.

I've done a few dry runs so far and sort of have a feel of what I am looking to accomplish. This achievement is all about timing. Having everything come together at the right time. So my strategy is to put my big foot in the door of Japan, while at the same gathering the power to explore to Mexico. Giving me the option to switch back to Mayan if deemed necessary.

I thought long and hard about going horde, but I do love the Shogunate. And there is other Horde stuff I want to do in the future, so that is the set up. I won't bore you with pictures just yet, but will set the tone soon. :)

PS. Will reserve a spot for the library info.
 
So it's obvious that you have a few routes with no exploits. And why would you go that way for the achievement? (Yuck!:) You can blast right into India with a NCB, you can bide your time and explore/colonize planning to change to horde after you reform Aztec/Maya. Why take Aztec? (Yuck! :) Or you can look to colonize for the gold in the Aztec/California Lands while eating the Shogunate. I think if done correctly this is a great option for this 1.3 build.

My first steps are simple and proven. Sell galleys, save money. I'm buying all three +1 mana salves selling 10% land so I'm at 0% to give me a big treasury. Sure your at 25% or so autonomy right away, but your so small right now, does it matter? And that's +3 for many years.

Then I reset my merchants to gather along the Chinese coast. Looking to build trade ships to bring in cash ASAP. I set military to zero, because who are we kidding. If I can just stay at + income from 1444 to 1500 and somehow come out ahead I'm on the right side of the coin. It's always gamble for RNG and may take a few tries. Setsu is key, the trade power there can leverage that moment when you only have a few loans left to victory.
 
#1
Ok, so I have pictures to give and paragraphs to write. I think it took me about 8 to 10 tries to set a good hook to reel in a worthy WC. I will add the visual data as I go. If it doesn’t seem to fit don’t worry I’ll come back to it. :)

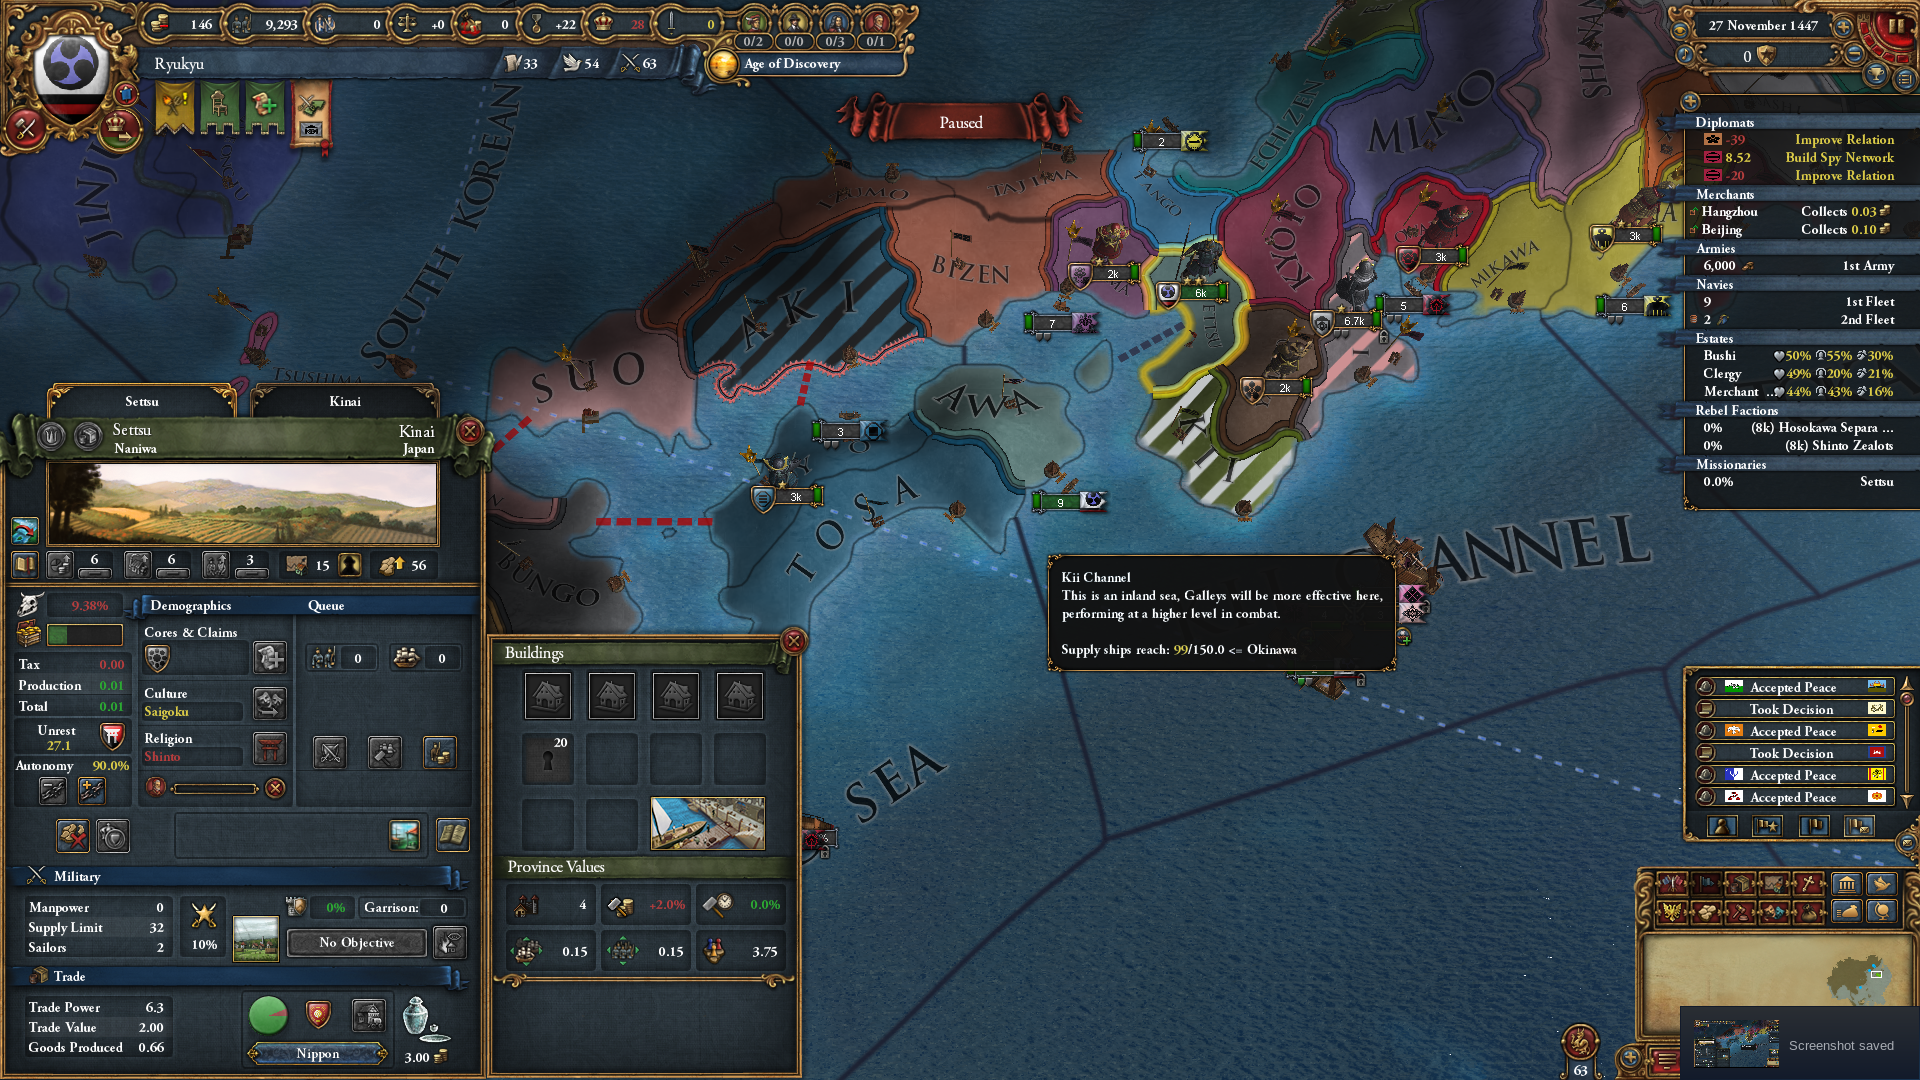
Screenshot from 2020-12-16 23-03-13.png


I ended up keeping my galleys since I had to attack extremely quickly to bring about the optimal situation. I did still invest in the mama and extra coin at the beginning, however, I didn’t work with any diplomatic advisers until late 1480’s. I did hire +1 military adviser when going to war, fired them when I could. There were a few low cost admin advisers in the mix, mostly for happiness reasons. I got an early re-rroll on my crown. It helped, but certainly felt my fair share of naughty RNG too.

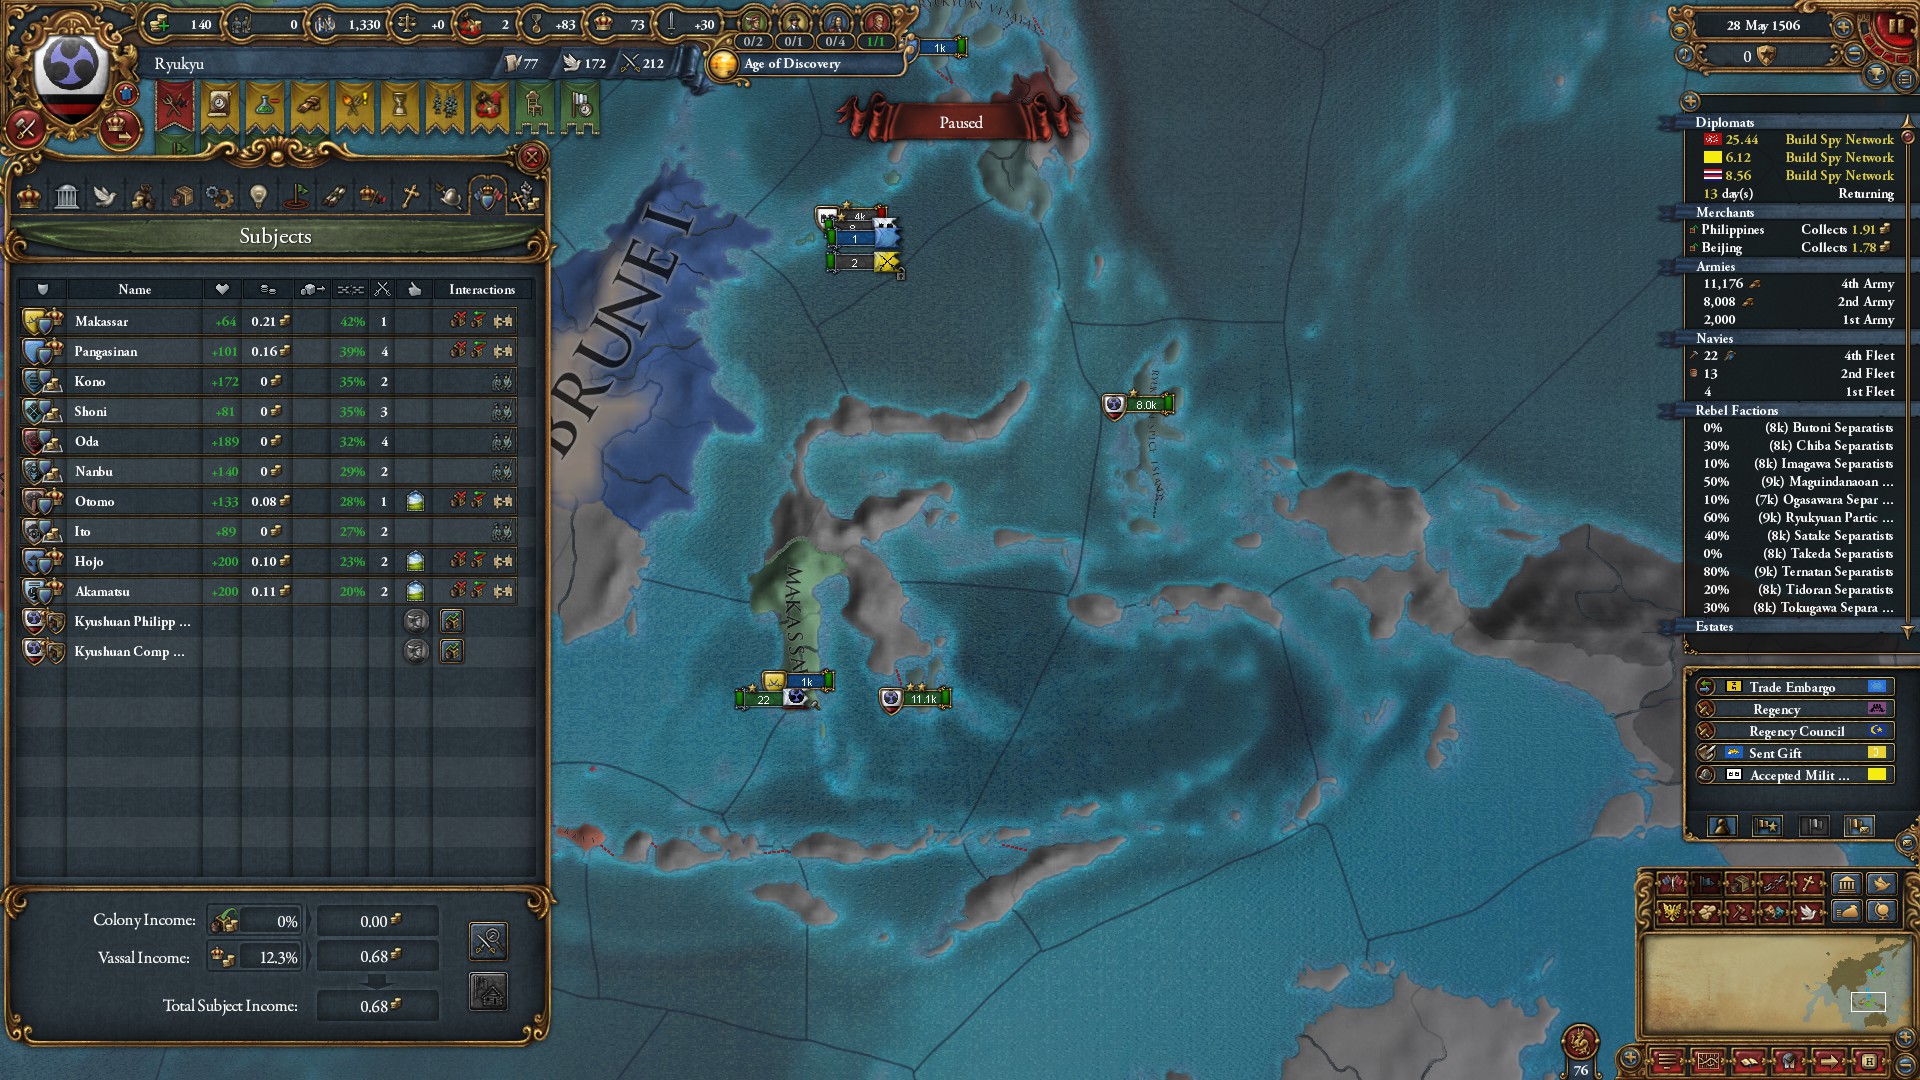
When I took Kyoto with the help of the Ming, I let the Shogunate dissolve, left the protection of the Ming and just moved my capital to Japan (Kyoto) and then remade it. This was key to getting all the tributaries and vassals you see. It was the best option as they also provide a good load of coin and manpower.
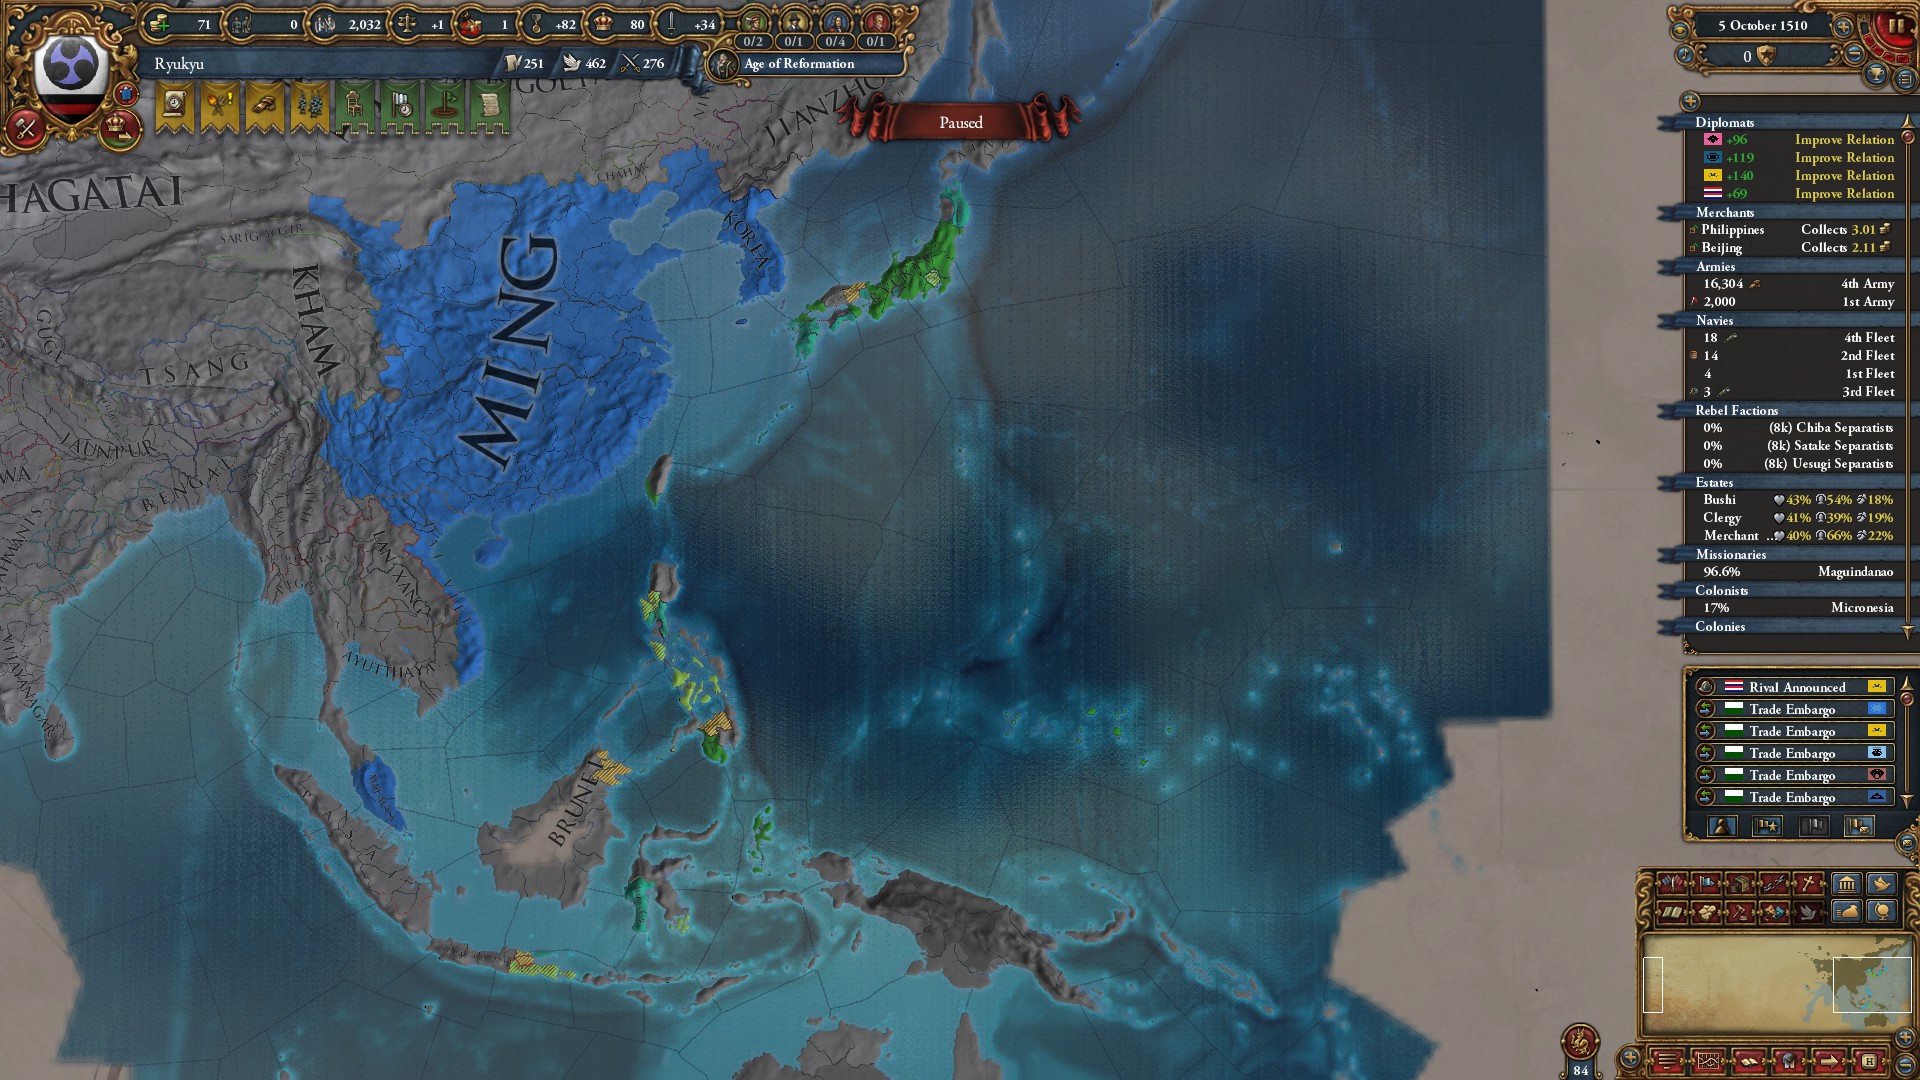
20201219182038_1.jpg


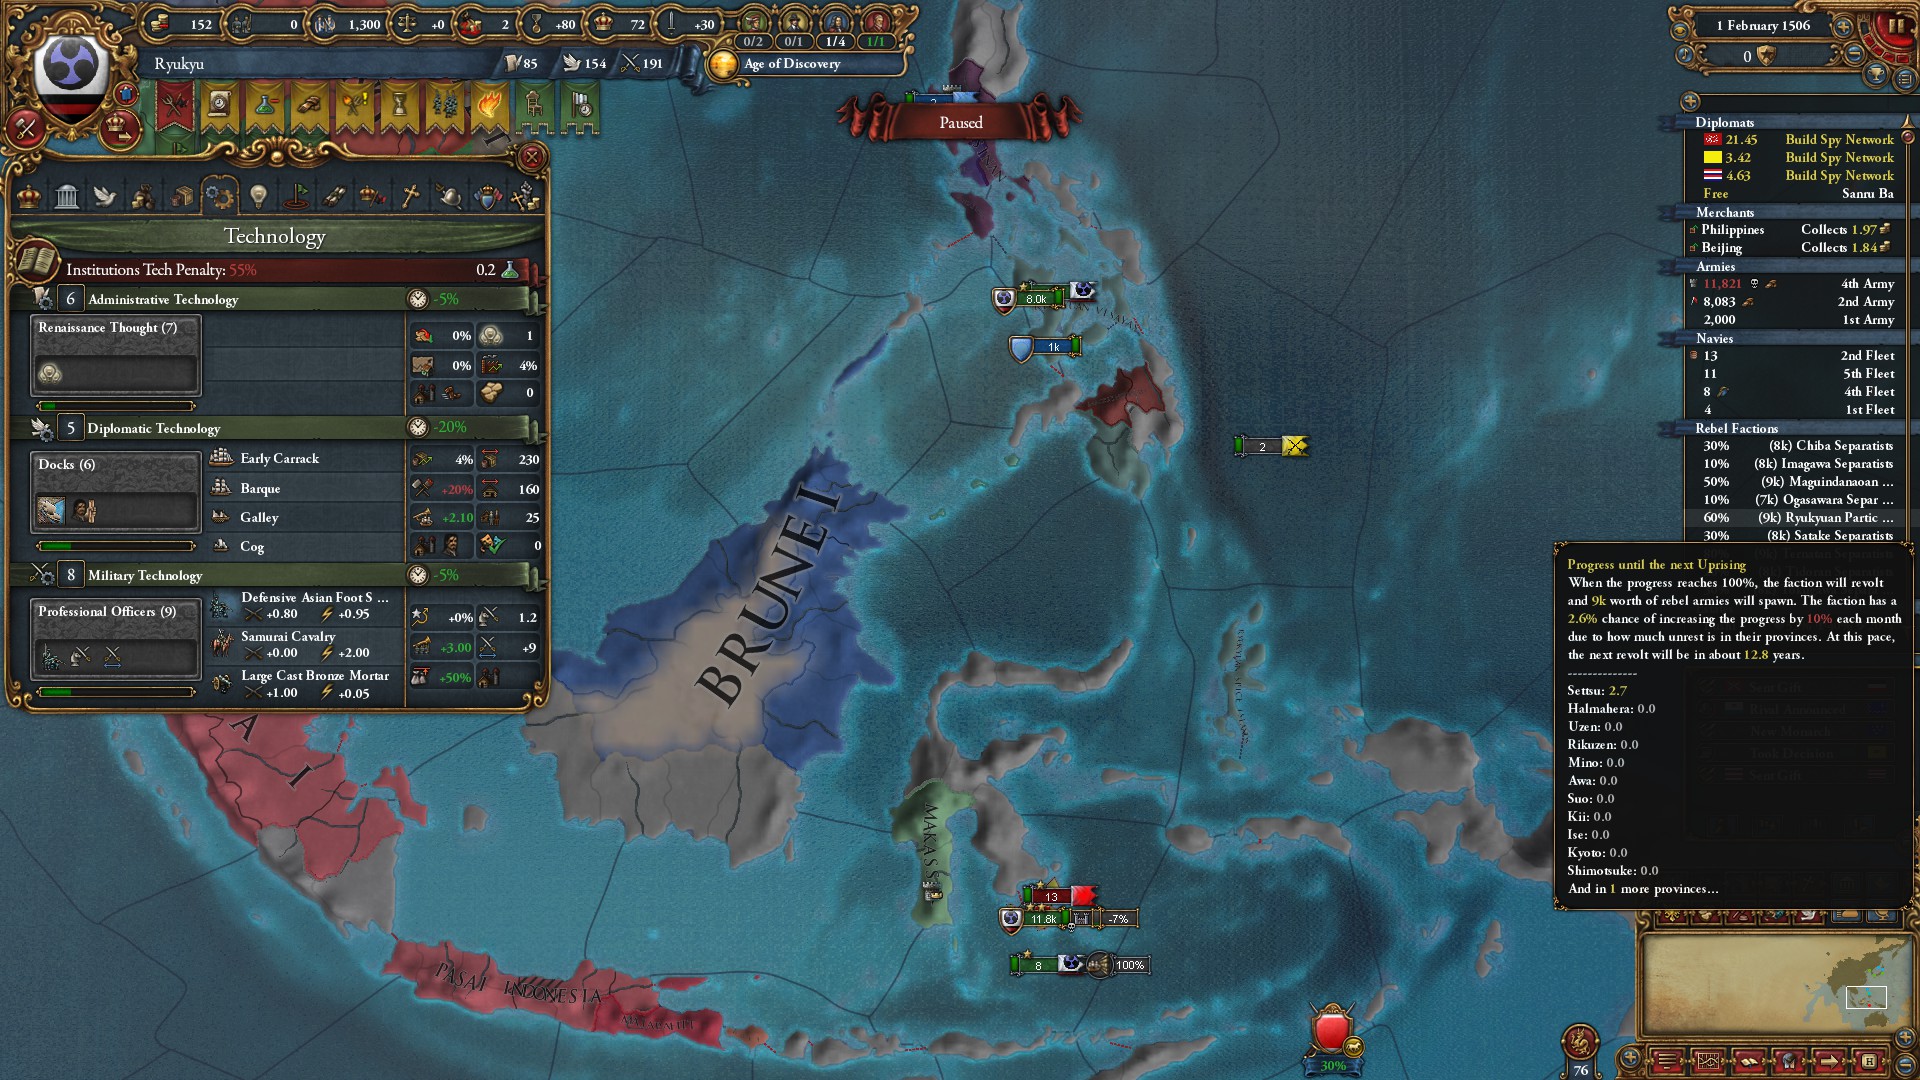
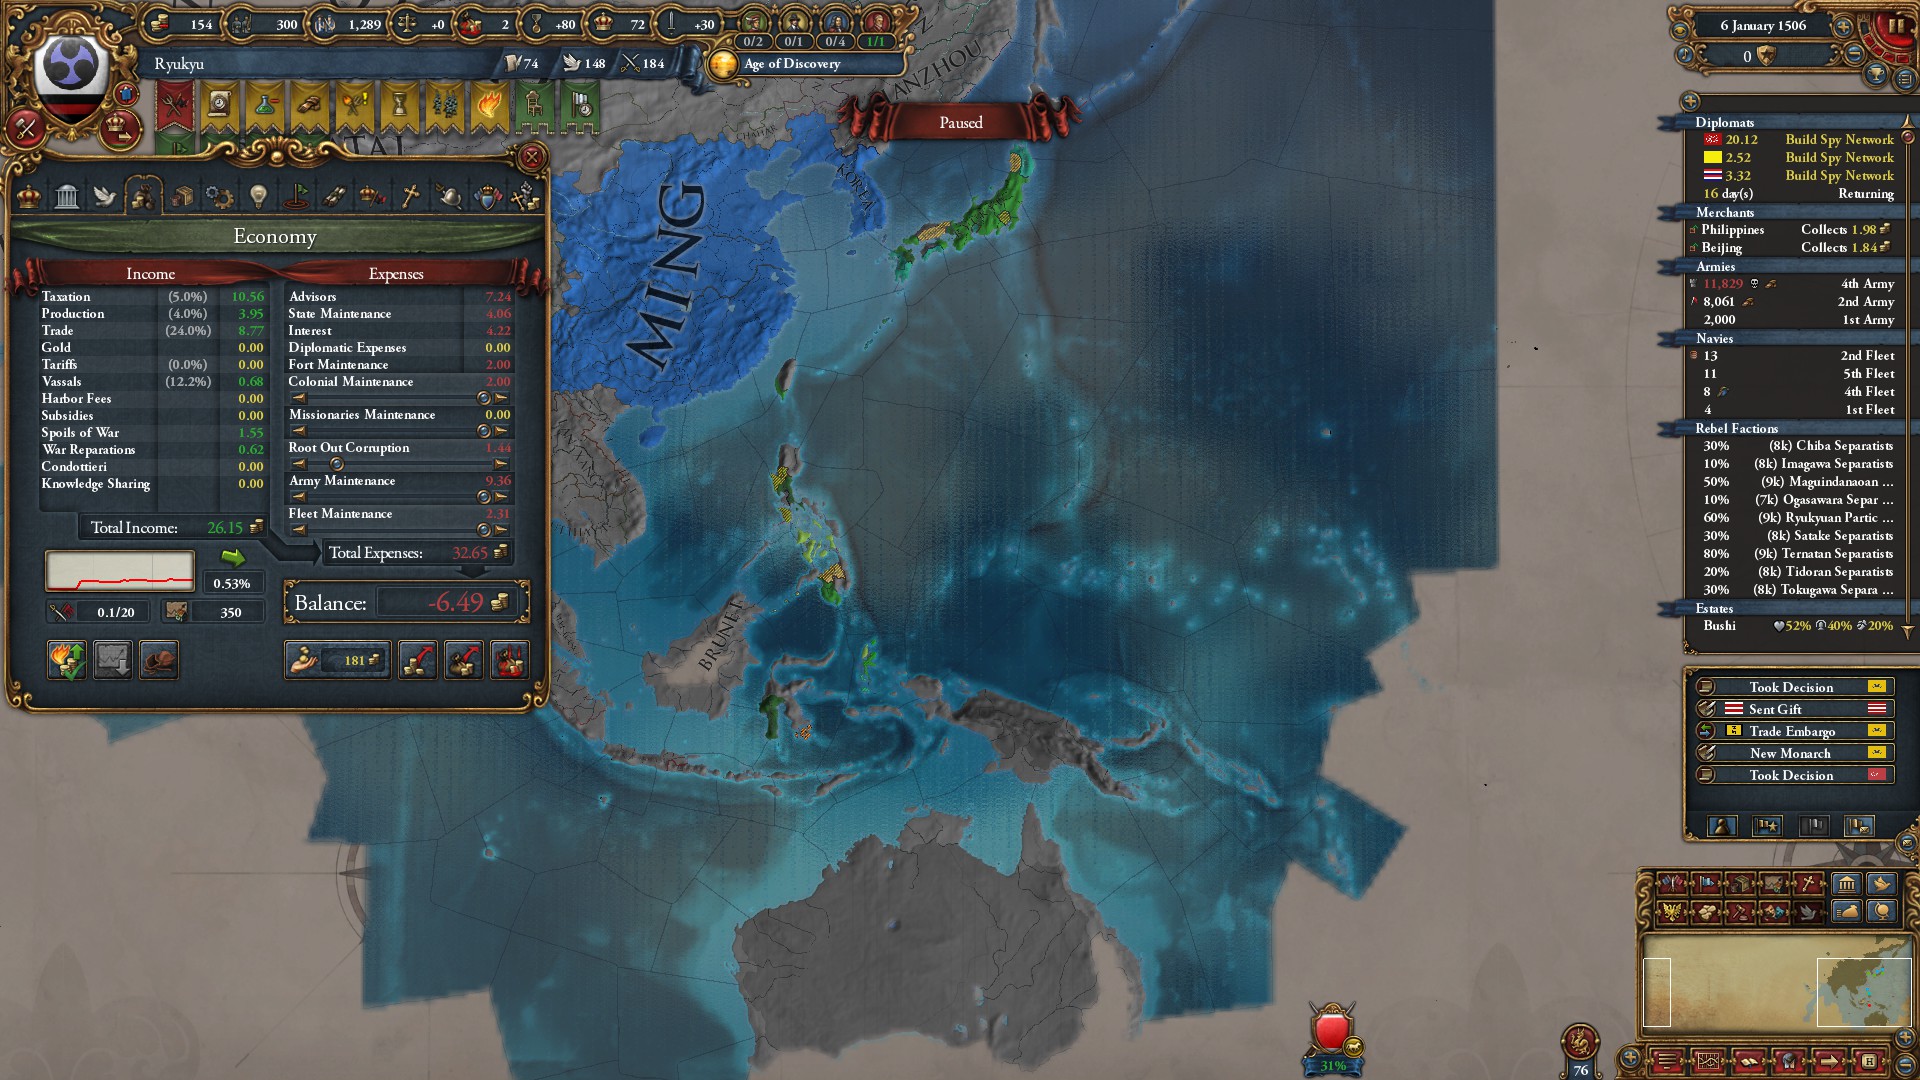
My economic tactic has been to leverage for growth. My mercantilism has suffered because of this. But where I’m going it won’t matter. :)
20201219175452_1.jpg

20201219175152_1.jpg


Now spreading very quickly but no one is against me and I have allied with Ming, Korea, the Pirates in So, and Malacca. Moving into India and Mexico, the Dragon after that.
20201219232700_1.jpg
 
Last edited:
A World Conquest run will be interesting to follow.

Best of luck!
 
Gonna skip to 1580. The Manchu formed and the Ming collapsed with all the pressure, and of course I had to take advantage of that to make my way west, creating vassals as I go.

1580 China.png


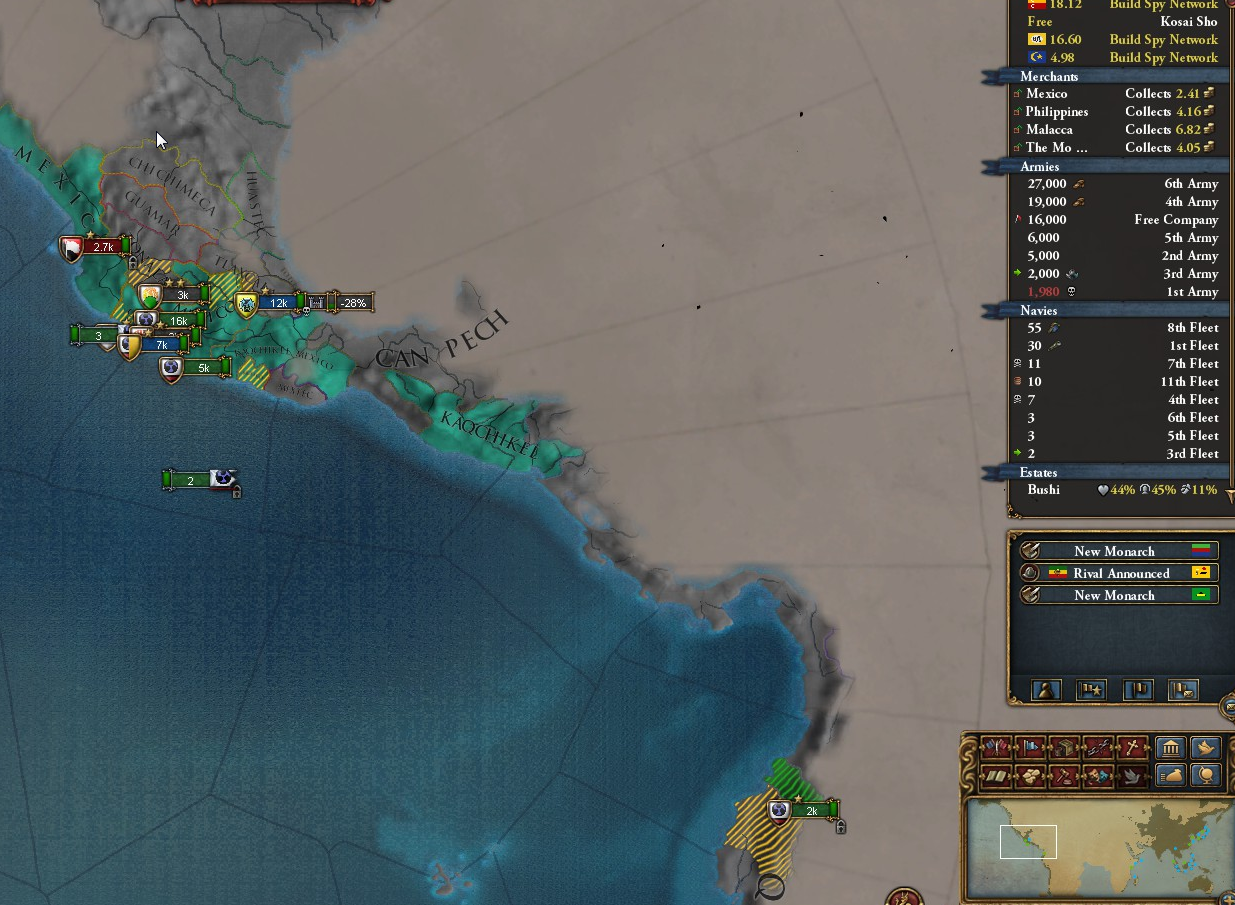
Working to get the gold from Mexico and roll on down into South America.

Mexico.png


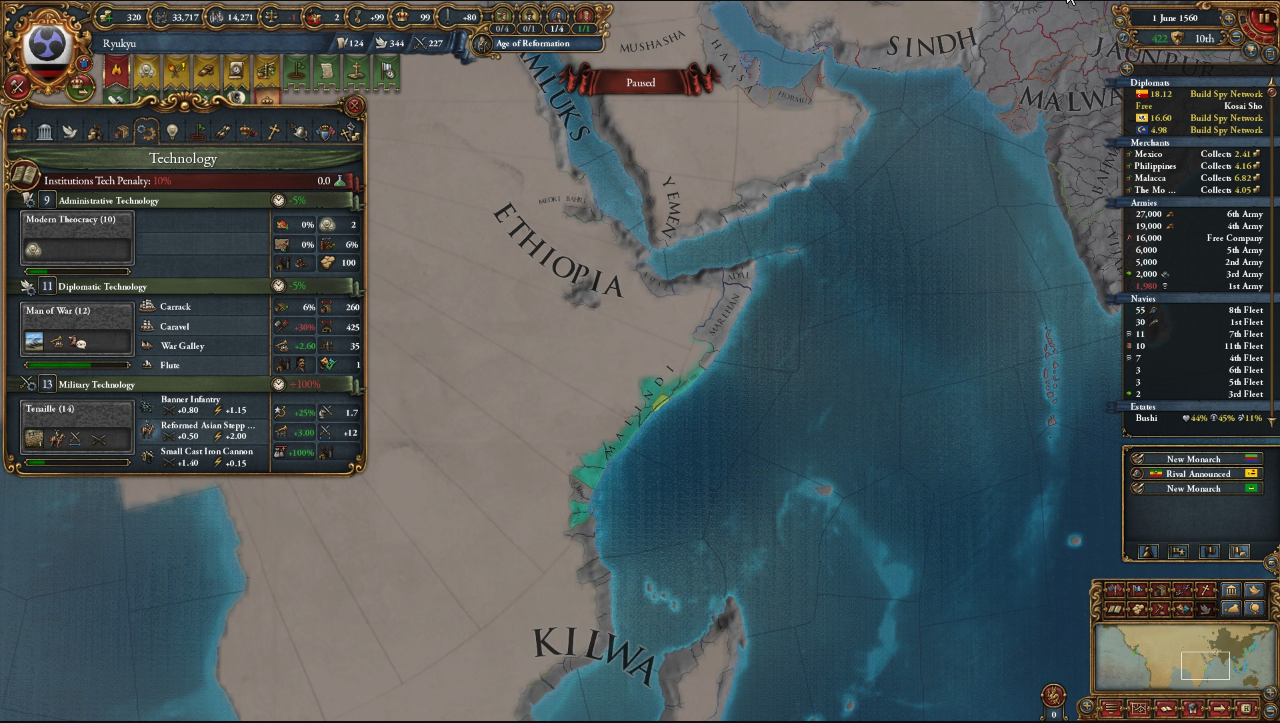
Also spreading to Africa to pick up those yummy, yummy tributaries there, I am way behind in tech at this point, but this is expected.

Africa.png


Southeast Asia is quickly being assimilated. I will move my trade city to the Malacca node once I have the trade power, then I can collect in one node, boosting overall trade.

South Asia.png


I'm grabbing influence after exploration. Some might say this is a shortcut, but it doesn't effect the achievement, and for this particular play style I think it will be more than advantageous. Next post we will go into the 1600's, when the real action starts. :)
 
I want to see your empire face off against Europeans...
 
Sorry, I truely am. I was playing on an unstable system. Linux. And somehow I've lost my save! Ugh. Hurts so bad. I have a 1540 save. But I have Pictures up till 1640. And you will see I already had it done. But to me a complete embarrassment. :(
 
What Linux OS are you using? I think Ubuntu is the best for this sort of thing (not sure how much it actually matters, but...).
 
Yeah using Ubuntu. I had a hard restart, and just lost it. Took some time to recover, cause it hurt 100 years from the save. Swallowed the loss and back on it again. Just won't be the same game. I got the screens from 1600's so will provide both when I get back to where I was. No worries will still get it, just won't be the same game, and will take longer than I thought. hehe.
 
This time I'm gonna go for the Cape of Good hope right away, hopefully just move my trade city there, right off the bat. I can not help but be better at it now. But I totally did not plan on going back. Who would want to give up weeks of careful planning?
 
Back!
This time I'm gonna go for the Cape of Good hope right away, hopefully just move my trade city there, right off the bat. I can not help but be better at it now. But I totally did not plan on going back. Who would want to give up weeks of careful planning?
Ok so obviously I got distracted here. But I just finished this mother, And I saved plenty of Pics. But first off I'll show ya the thread that links me to here, and result.


Attachments

  • 20240310154115_1.jpg
    20240310154115_1.jpg
    538,8 KB · Views: 0
Last edited: