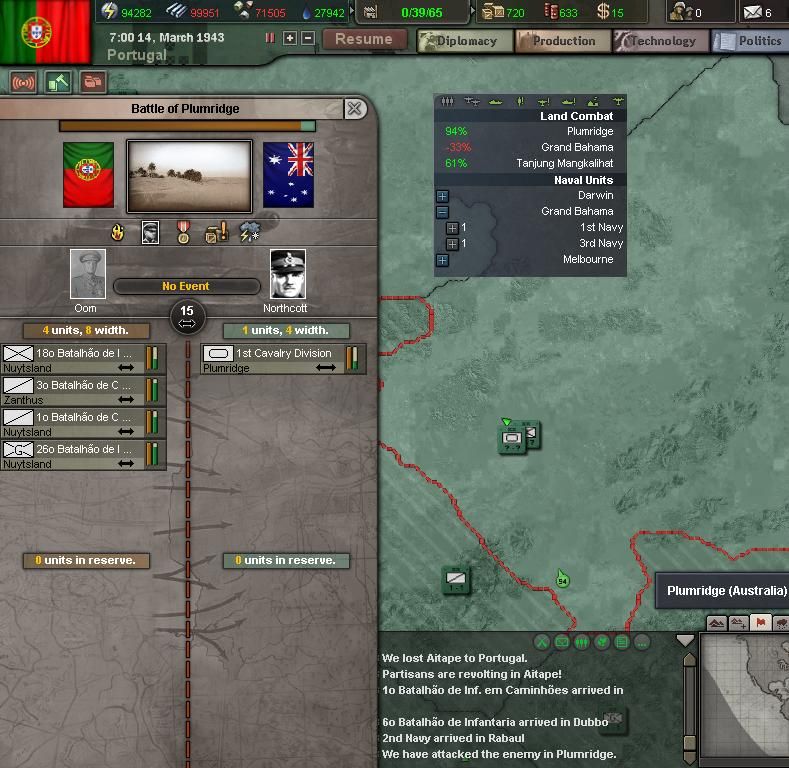
The running battle in Western Australia – emphasis on “running” for the Australians – continued. By the 14th of March, 1943, the 1st Australian Armored Cavalry was trying to stand at Plumridge while the Australian 23rd Infantry attempted to escape to the north. It was figured that the tanks could move faster, and since the 23rd had been taking the brunt of the fighting while the 1st retreated, it was time to switch off.
But by that time, the Portuguese 18th Infantry and 3rd Cavalry had been joined, also, by the 1st Cavalry and the 26th Garrison Divison, which were each fresher than the 18th. The Aussie tanks were again beleaguered, and losing strength.
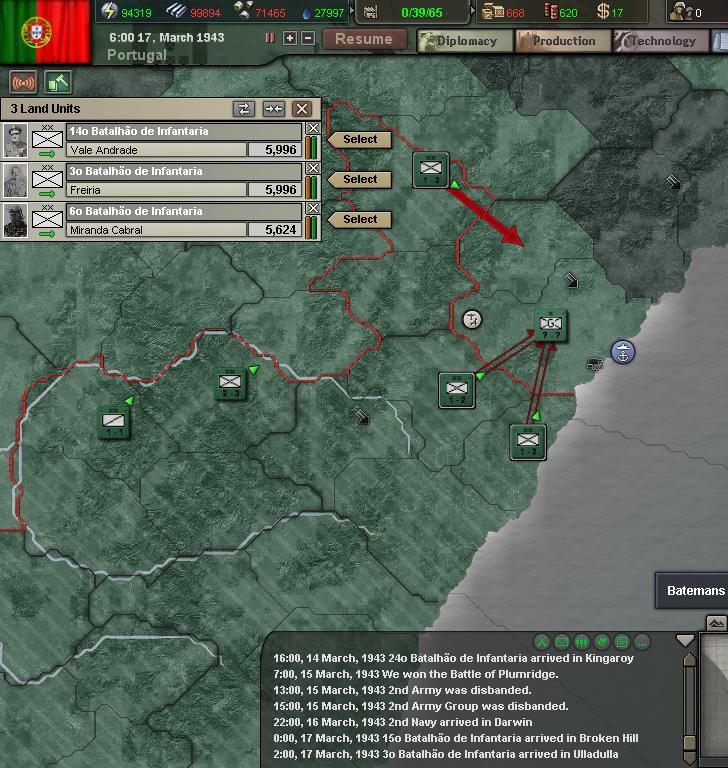
And yet, surely, it was difficult to marshal even the little fight left in them because of news from the east, where the Australian capital had just fallen, and Sydney and Brisbane seemed on the verge. The 1st Armored Cavalry decided on the 15th to fall back yet again – they couldn’t stand.
On the 17th, the 3rd and 14th Infantry were advancing against the city of Sydney, where the Australian government had fled by air. The 6th Infantry was closing in from the northwest.
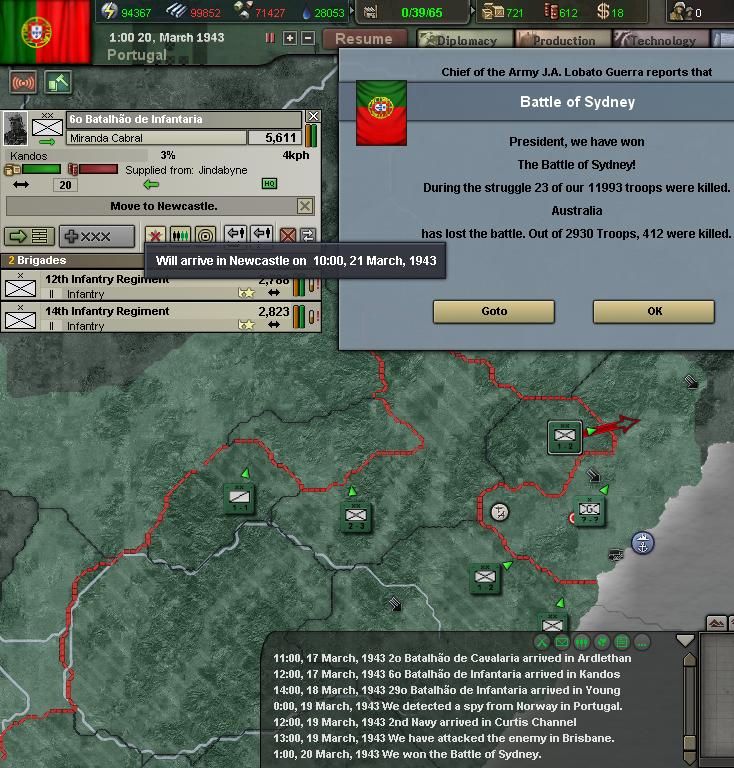
With only a brigade of garrison troops to hold off the invaders, their game didn’t last long, and the Australians pulled up stakes and retreated toward Newcastle, along the coast. The Australian Prime Minister, his cabinet, as many MPs as could manage, and a rump of the Australian High Command attempted to sneak away by sea. They ended up on the nearby island of Guadalcanal.
But before the Australian troops could reach Newcastle, in their tired and not-very-mobile condition, the 6th Portuguese Infantry had arrived there before them, set up a cordon against the shore, and forced their surrender as soon as they arrived at the perimeter. The city of Sydney, designated capital for only a week, was soon in Portuguese hands.
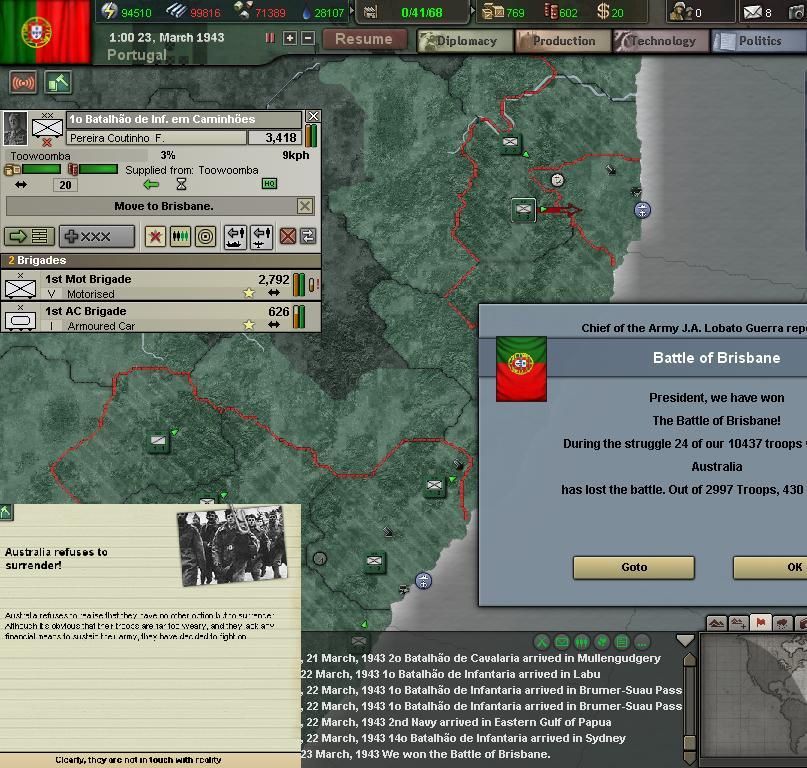
About that same time, battle had been joined to the north, in Brisbane, which was already completely surrounded and cut off. The brigade which had been assigned to garrison there surrendered on the 23rd.
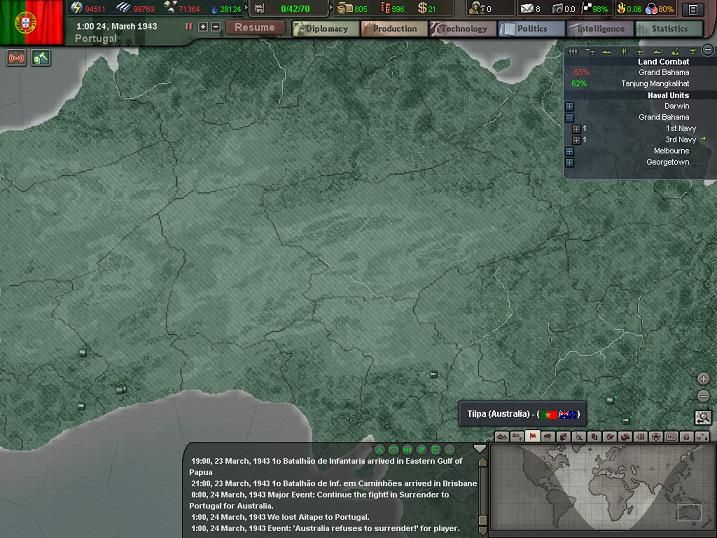
But the stubborn Australian government, by then setting up shop at Guadalcanal, refused to offer surrender terms. Yet, it was at this point that the 1st Armored Cavalry and 23rd Infantry, as well as the other Australian divisions in the west, were allowed to surrender and stop the bleeding.
Portugal soon took command of all of Australia, and the Australian soldiers were allowed to give their parole that they would fight no longer and would not take their military weapons with them.
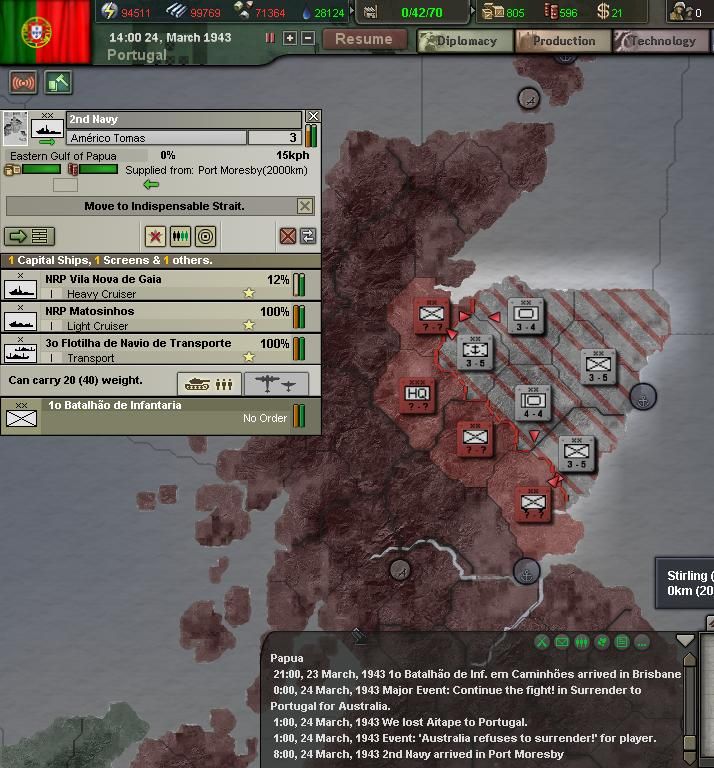
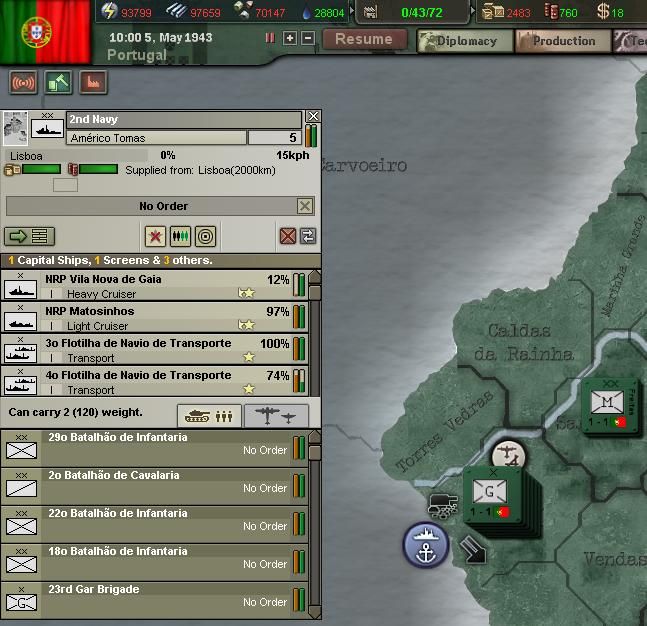
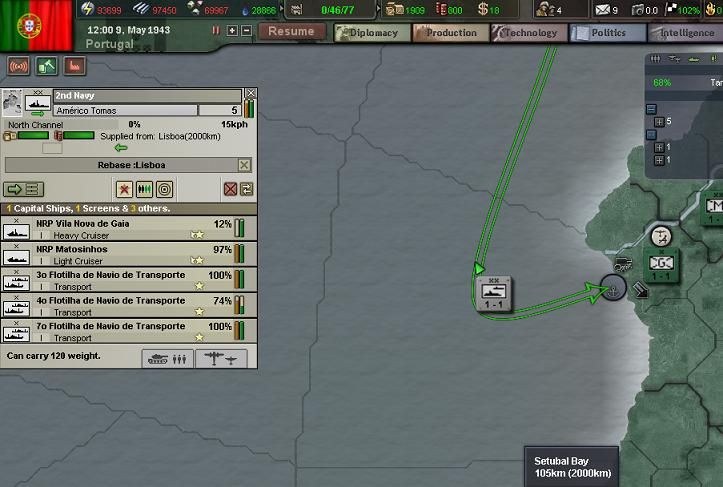
Immediately, the main task on the minds of the Portuguese generals was to get their troops to the coastline as quickly as possible, so they could be transferred to ships and transported into other theatres. This, as always, had to be prosecuted with the utmost care, since snipers still roamed the hillsides – some of them completely oblivious as to the surrender – and the Australian cruisers still prowled the seas, though now without a home base at home.
The Portuguese General Staff was still undecided as to how these divisions would be redeployed and employed. If you had asked these generals, at Christmas, 1942, what they expected these divisions to be doing by April 1, they would have universally predicted a gradual closing in on the Australian east coast, with an expected conclusion of the campaign in mid-to-late summer. The rapidity with which the Australian campaign had concluded was unexpected – it had all happened so quickly. No one had had time to fully plan.
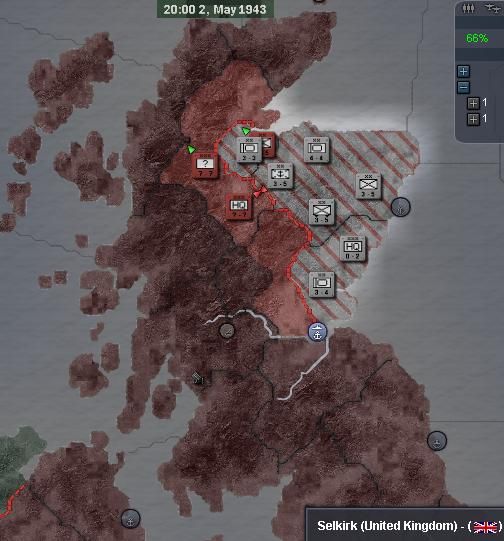
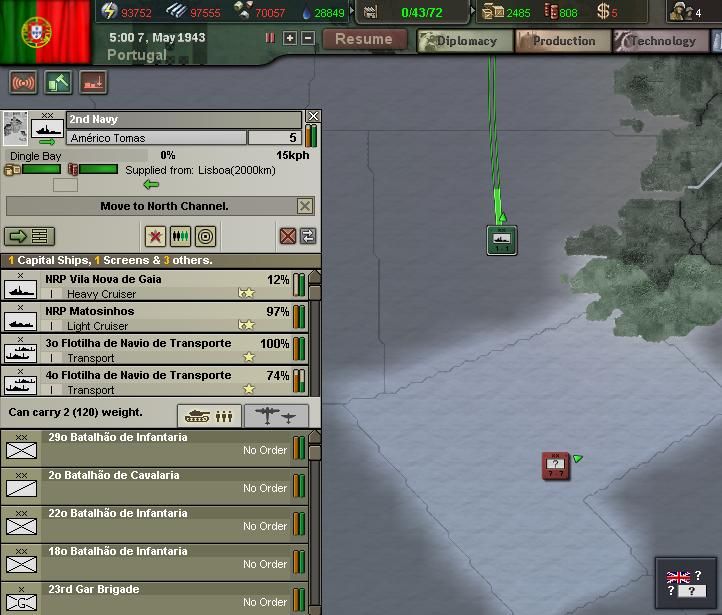
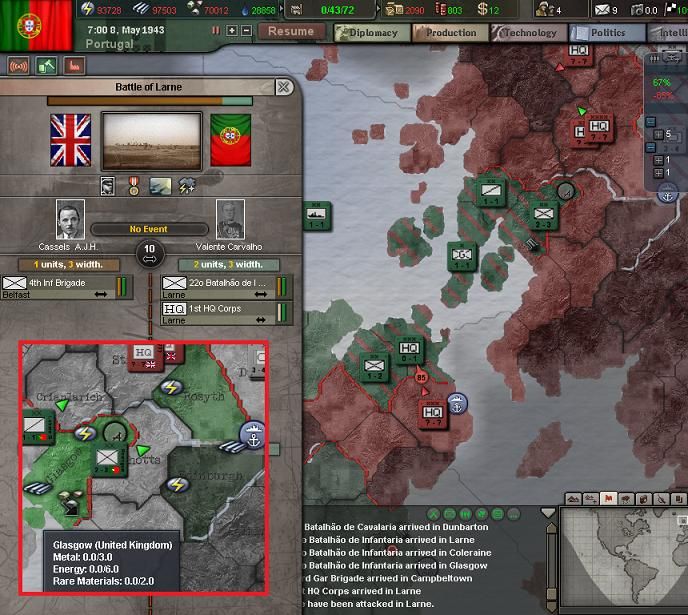
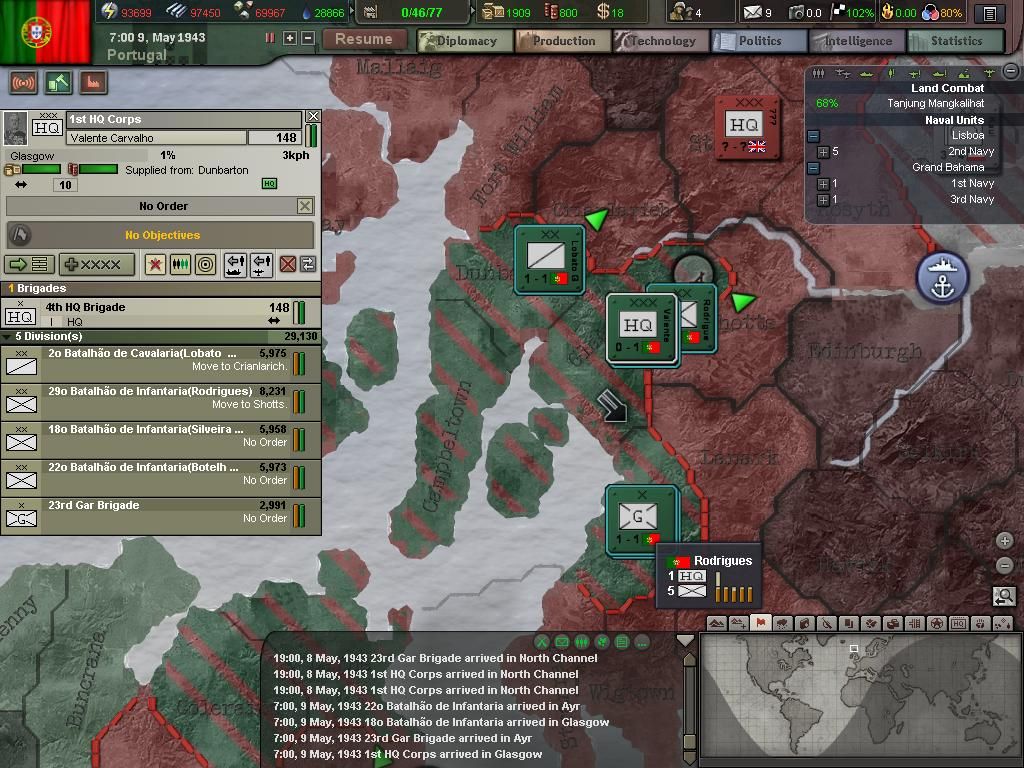
In Scotland, the slight infiltration which had briefly panicked the German generals had been fought back by the Pz IIIs which had recently landed, and a perimeter was now set up again. The pocket had yet, however, to reach critical mass so that they could launch a concerted attack out into the wider British Isles.
Reinforcements were coming, however, gradually (I’m curious how quickly the AI in v1.2 actually decided to send units overseas, and how coordinated they were in the process of putting those divisions aboard ships).
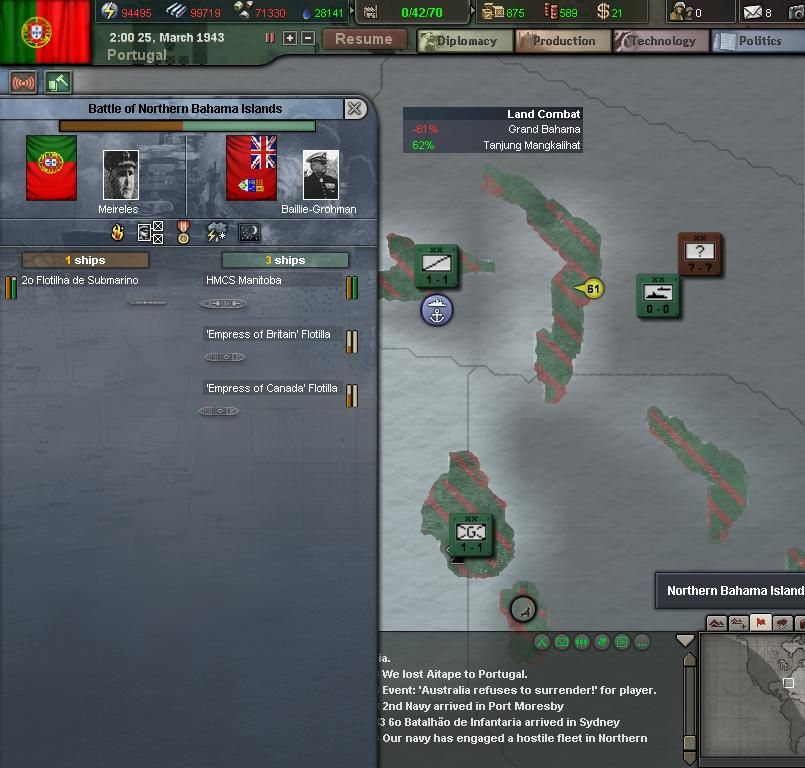
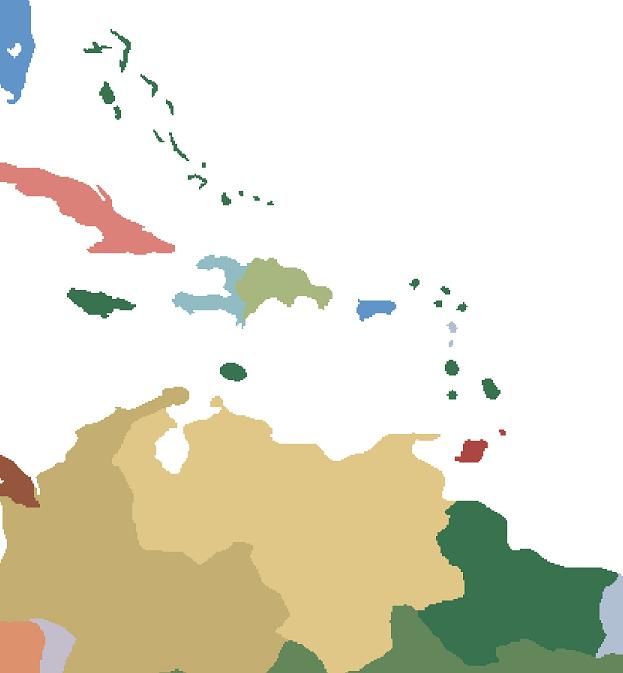
As you’ll recall, there had been an ongoing campaign by the Royal Canadian Army and Navy to defeat us at our outpost in the Bahamas. At times they had come very close to accomplishing their goal, but we had used small elements of our navy to batter their ships and cause them to withdraw before completing landings, and we had rotated our military units around from island to island to keep them from becoming too exhausted.
In late March, it looked like an invasion might actually succeed in dislodging us. Our larger naval units had been drawn off to Australia, and the destroyers which had successfully kept the Canadians away for so long were mostly sunk or too ragtag to make a difference – they had been sent home to repair. Fortunately, the 2nd Subron, having been launched in August, and having to remain near Lisbon for a while to prevent any recurrence of a British invasion, finally arrived on scene in the Bahamas. Quickly, they sank several Canadian troop transports, and the Canadians withdrew with significant damage and loss of life (the Empress Flotilla was lost, which hopefully cost them some troops).
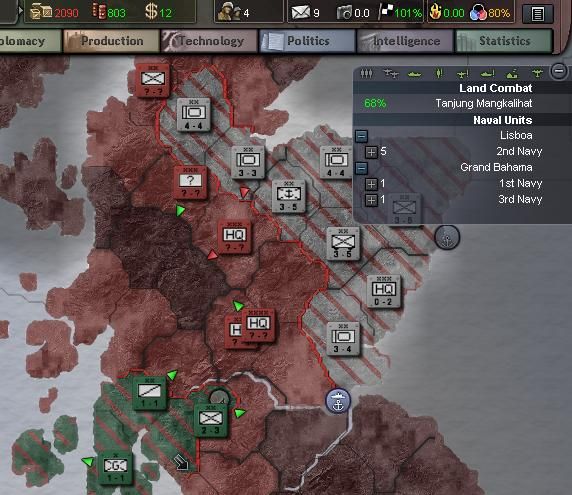
The Bahamas were saved again. At the same time, action was re-opening in the South Pacific.
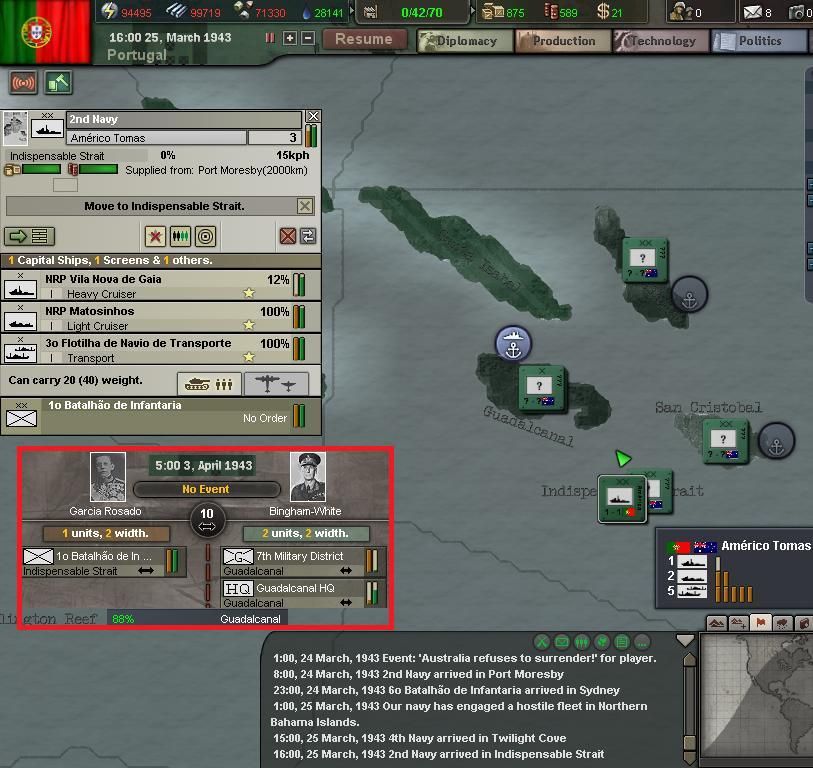
On 25 March, the Portuguese 1st Infantry launched an attack upon the lightly defended “provisional capital” of Australia’s government in exile. Guadalcanal was protected only by a headquarters detachment and a garrison brigade (one wonders if they learned the wisdom of using these brigades from watching Portugal’s early war).
Amphibious invasions against dug-in targets are never easy, but by 3 April it was clear that this invasion would succeed. Guadalcanal surrendered on 9 April.
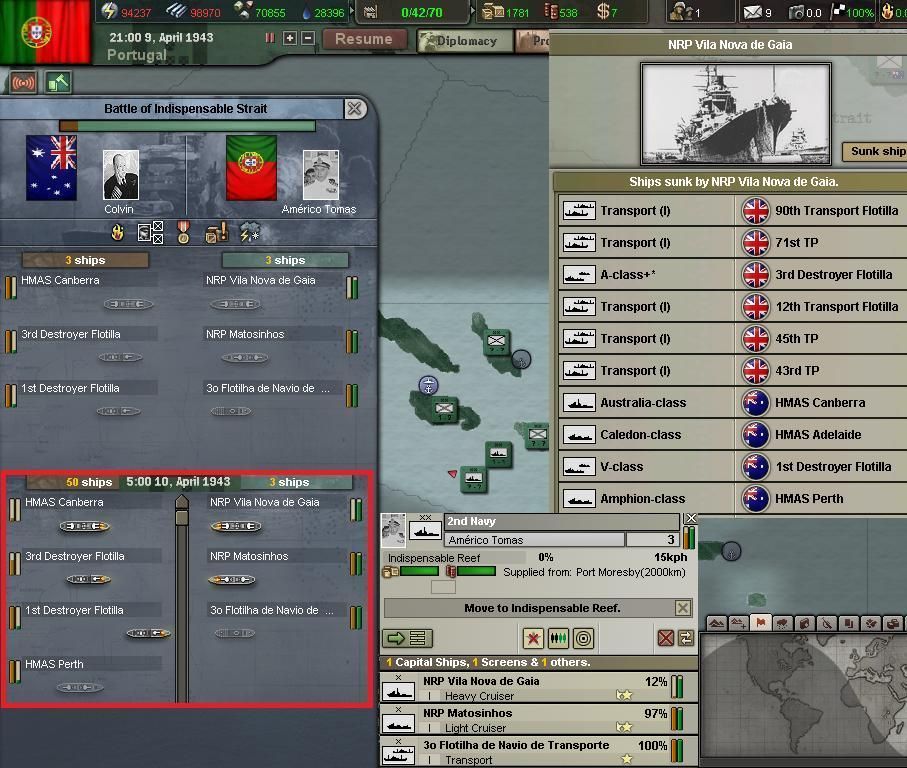
It is here that the Battle of Savo Island occurred. Early in the engagement the NRP Vila Nova de Gaia was hit and one of her turrets disabled. But she fought on, and later her heavy guns crippled both HMAS Canberra and the light cruiser Perth. Matosinhos contributed materially to the battle, scoring hits on both Australian cruisers, and also sinking several destroyers. The Portuguese destroyers helped round up and sink a large number of transports that attempted to flee from the harbor at Guadalcanal. Vila Nova de Gaia took other hits during the battle, and had to be towed to port in order to prevent sinking.
Despite being badly damaged, the NRP Vila Nova de Gaia was still afloat, and the HMAS Canberra and HMAS Perth were not. Neither were several of the Aussie destroyers which had begun this action. This was a significant victory, mitigated only by the fact that, during the confusion of the naval battle, the Australian Prime Minister escaped by boat and was eventually transferred to British Columbia, Canada.
So… Now that the Australian Navy had been neutralized, and Portuguese divisions were being loaded aboard transports for their next assignment, where would they end up?


") I really appreciate it that you appreciate it so much.
I really appreciate it that you appreciate it so much.